-
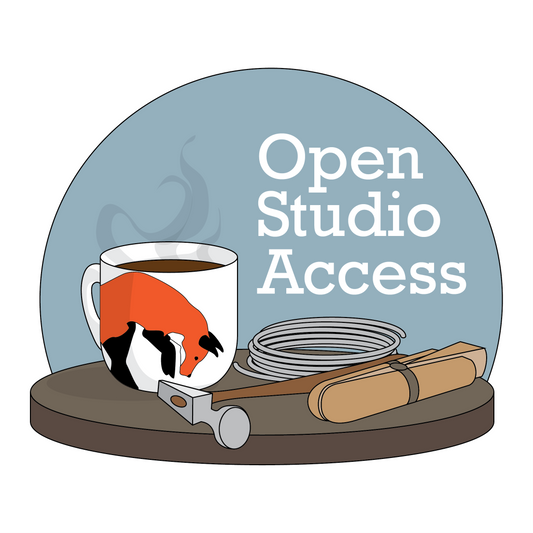
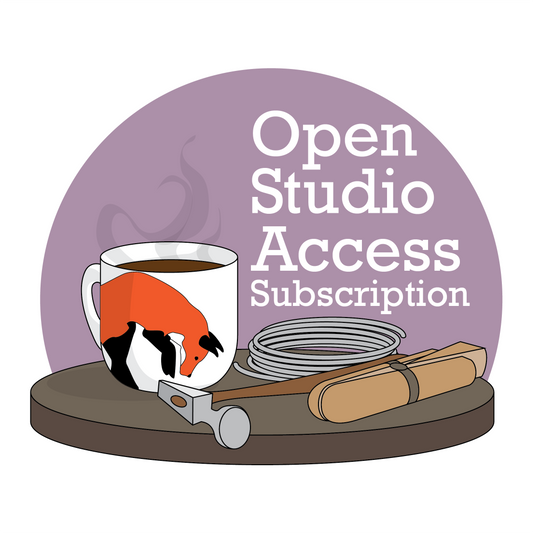
Open Studio Access - Monthly Subscriptions - Save 15%!
Regular price $95.00 USDRegular priceUnit price per -
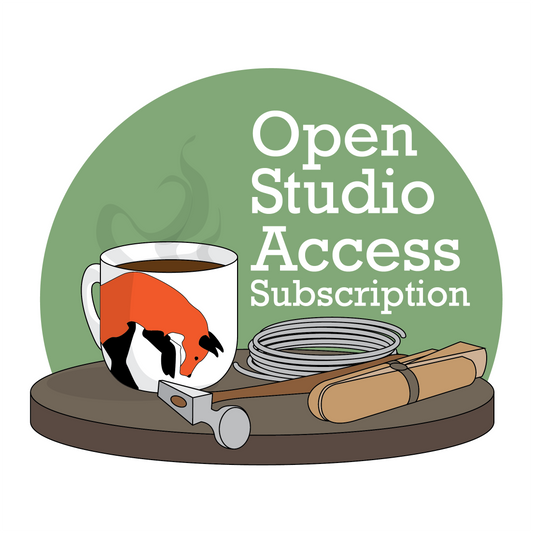
Open Studio Access - Quarterly Subscription - Save 20%!
Regular price $228.00 USDRegular priceUnit price per -
Open Studio Access - Annual Membership - Save 25%!
Regular price $855.00 USDRegular priceUnit price per -
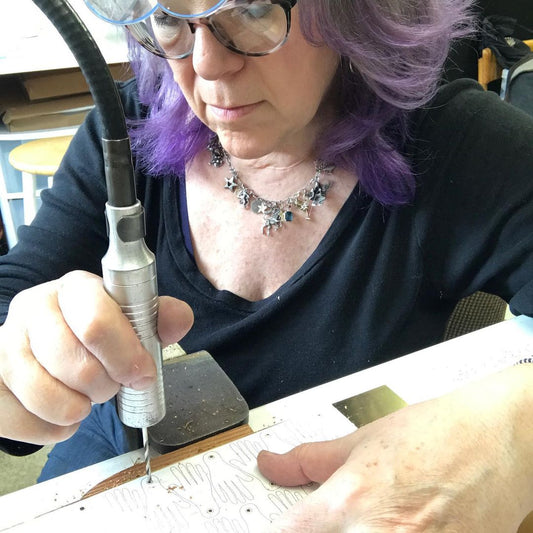
Alternative Stone Setting: Wire and Prongs with Jennifer Stenhouse, Nov 8
Regular price $78.00 USDRegular priceUnit price per -
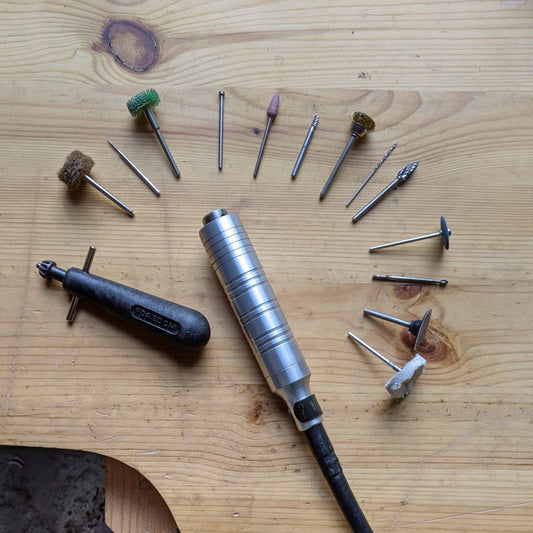
Flexshaft Demystified with Jennifer Stenhouse, Nov. 15
Regular price $78.00 USDRegular priceUnit price per -
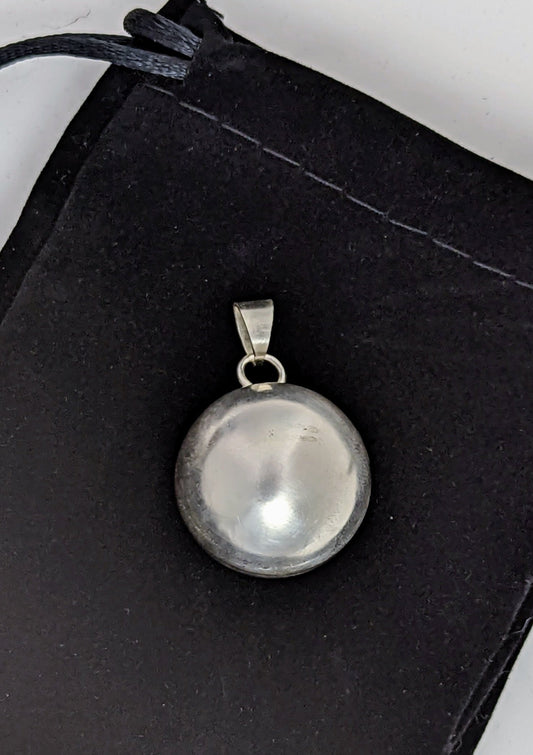
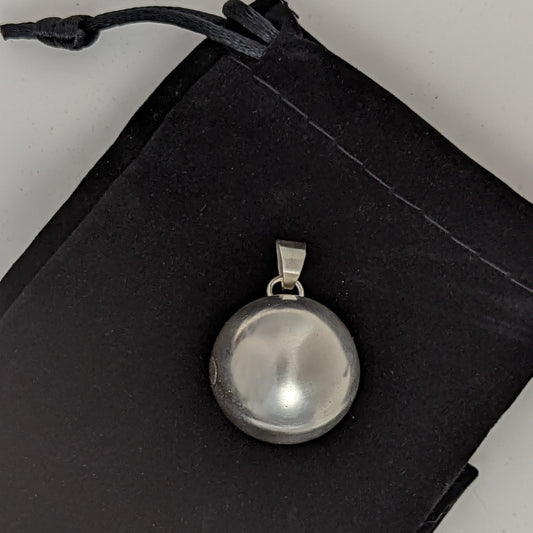
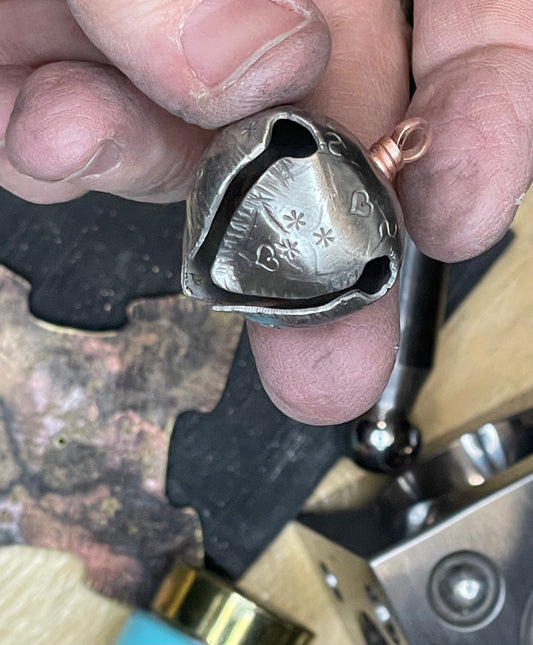
Chime Ball Charm with Julia Lowther, Nov. 15
Regular price $78.00 USDRegular priceUnit price per -
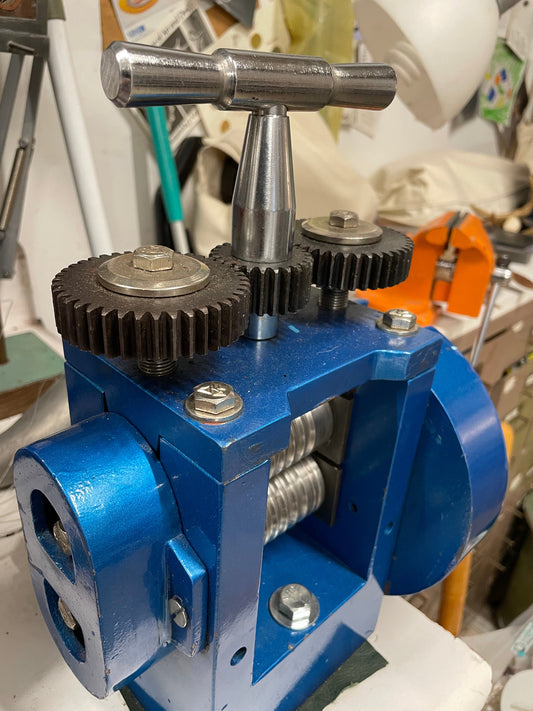
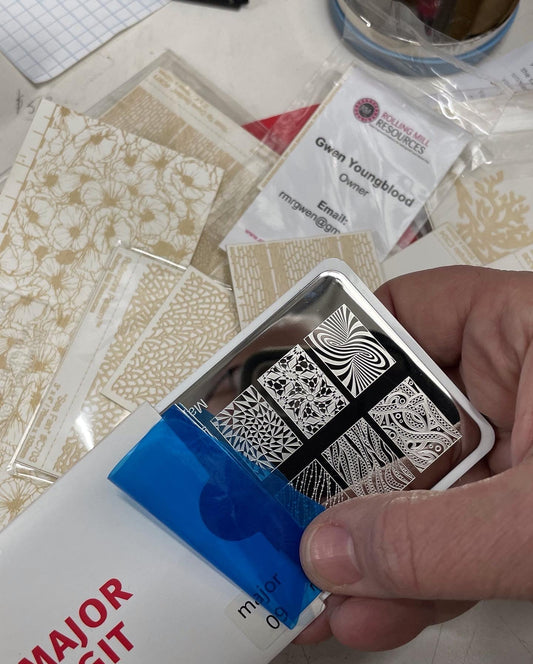
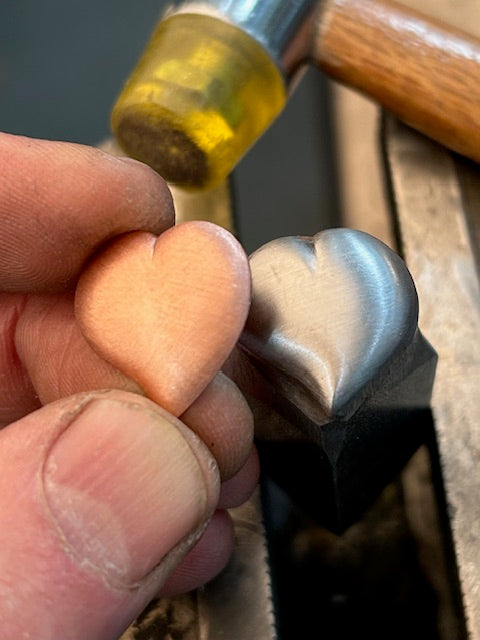
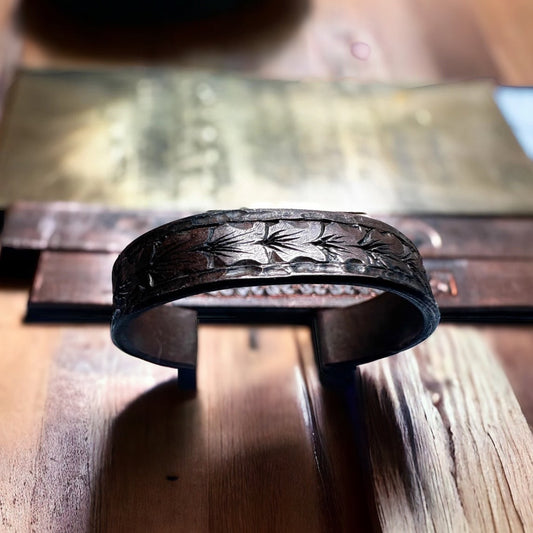
Rolling Mill Essentials and Textures with Jennifer Stenhouse, Nov. 22
Regular price $78.00 USDRegular priceUnit price per -
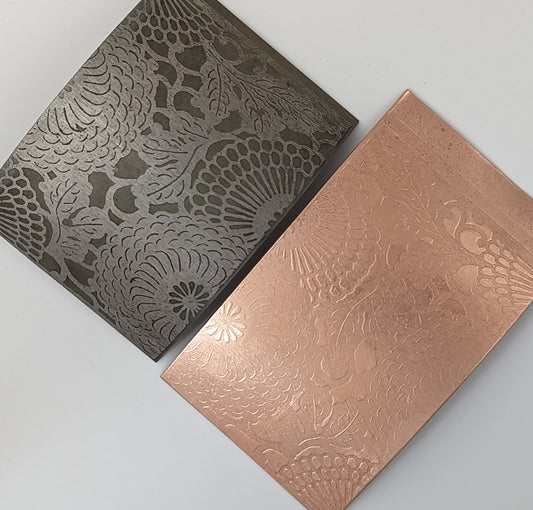
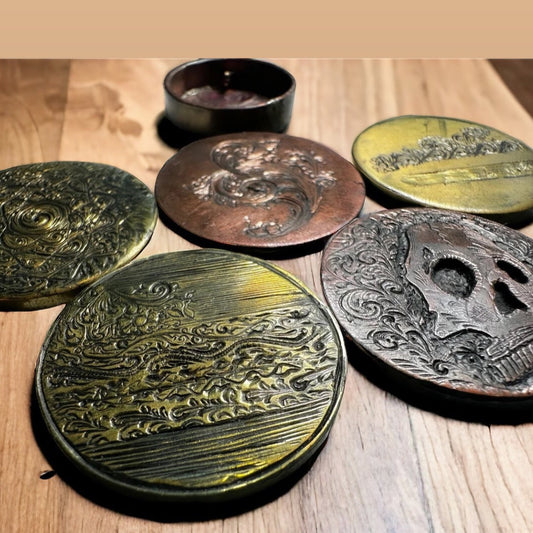
Etching Steel Texture Plates with Julia Lowther, Nov. 22
Regular price $78.00 USDRegular priceUnit price per -
Hollow Forming: Jingle Bell with Jennifer Stenhouse, Dec. 6
Regular price $52.00 USDRegular priceUnit price per -
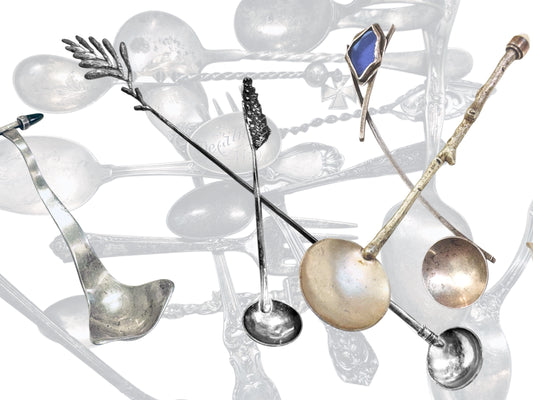
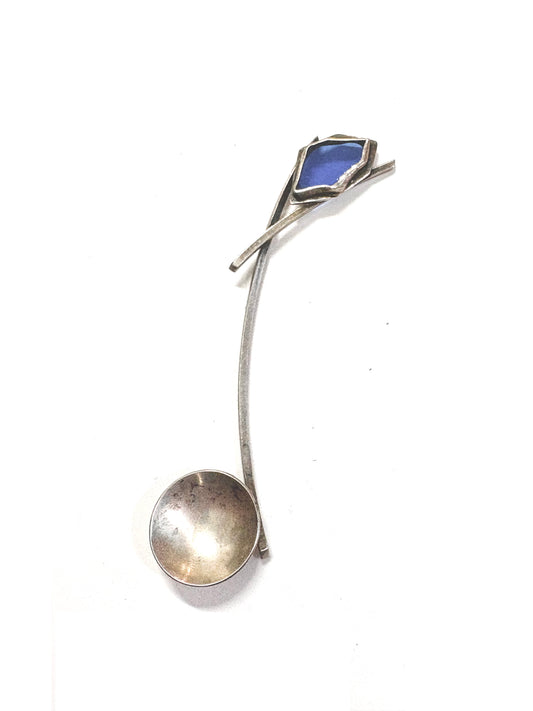
Holiday Silver Spoons: A One-Day Workshop with Jennifer Stenhouse, Dec. 13
Regular price $78.00 USDRegular priceUnit price per -
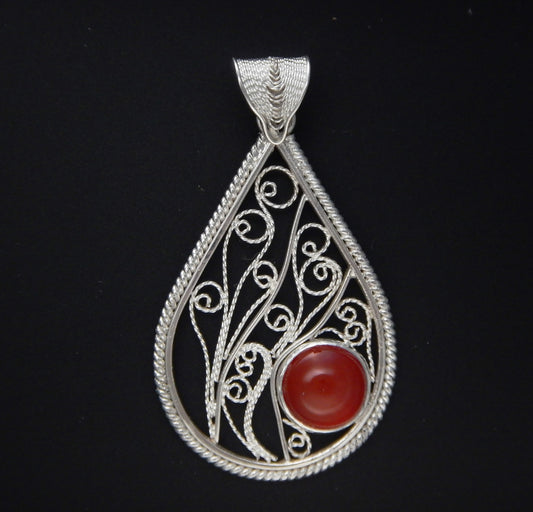
Fascinating World of Filigree with Milt Fischbein, Jan. 12, 14, & 19, 2026
Regular price $297.00 USDRegular priceUnit price per -
Working With Mitsuro Hikime Wax with Jennifer Stenhouse VIDEO
Regular price $78.00 USDRegular priceUnit price per -
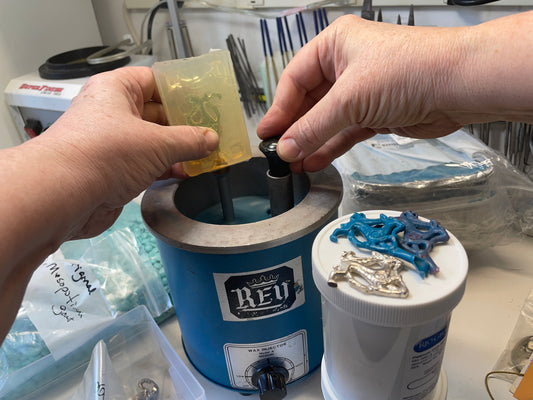
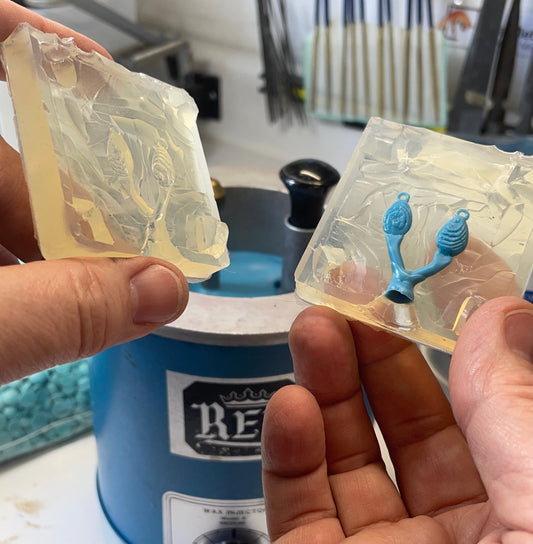
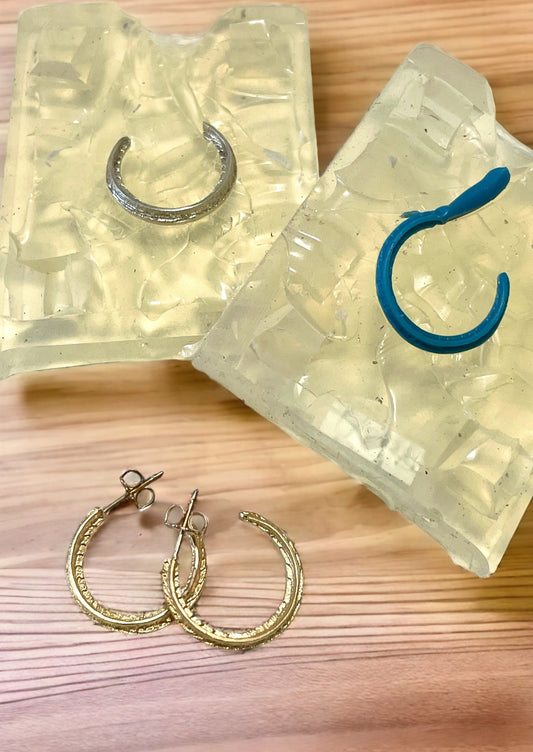
Wax Molds Part 2: Wax Injection and Alterations with Jennifer Stenhouse, Oct. 26, VIDEO
Regular price $78.00 USDRegular priceUnit price per -
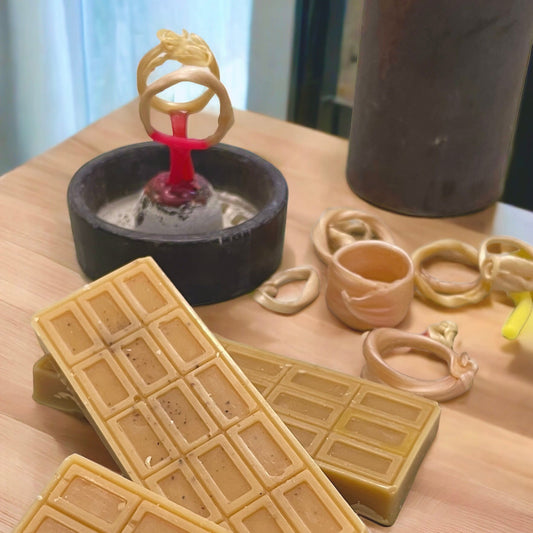
Wax Molds Part 1: Making the Mold with Jennifer Stenhouse, Oct. 25, VIDEO
Regular price $78.00 USDRegular priceUnit price per -
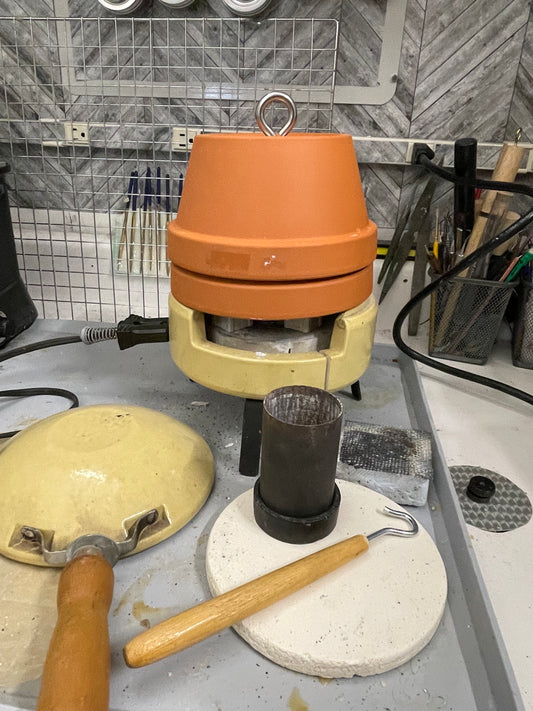
Lost Wax Casting for the Small Studio with Jennifer Stenhouse, Sept. 8 - Oct. 13, VIDEO
Regular price $324.00 USDRegular priceUnit price per -
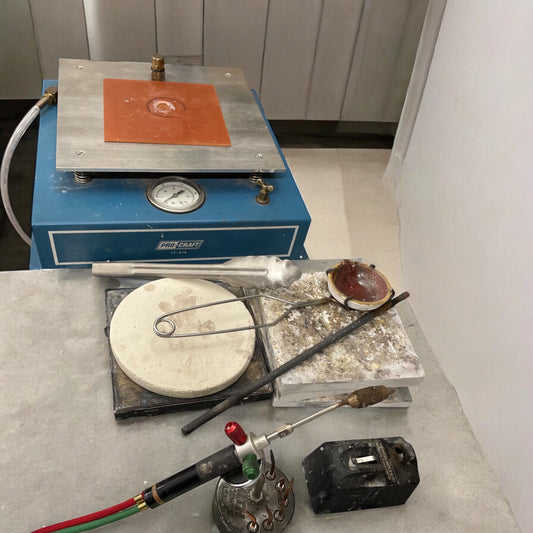
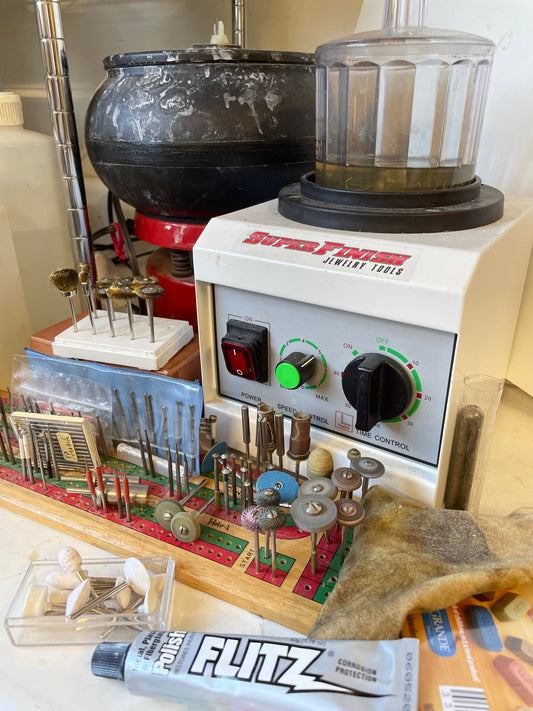
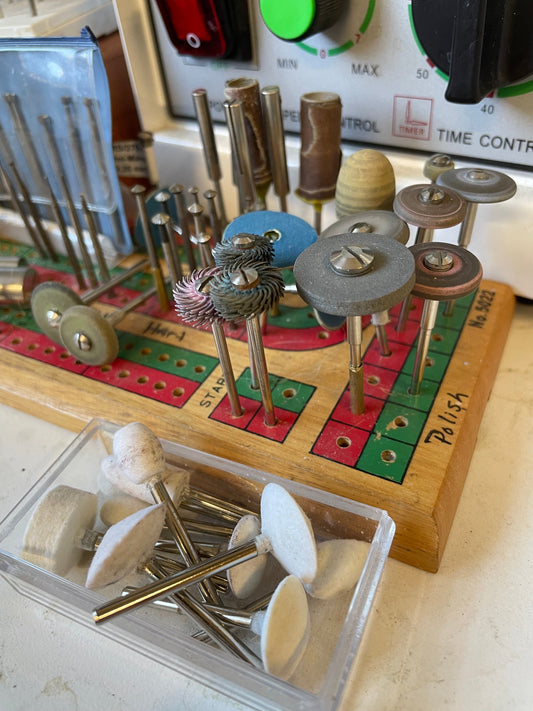
Finishing and Polishing Demystified with Jennifer Stenhouse, Oct.11, VIDEO
Regular price $78.00 USDRegular priceUnit price per -
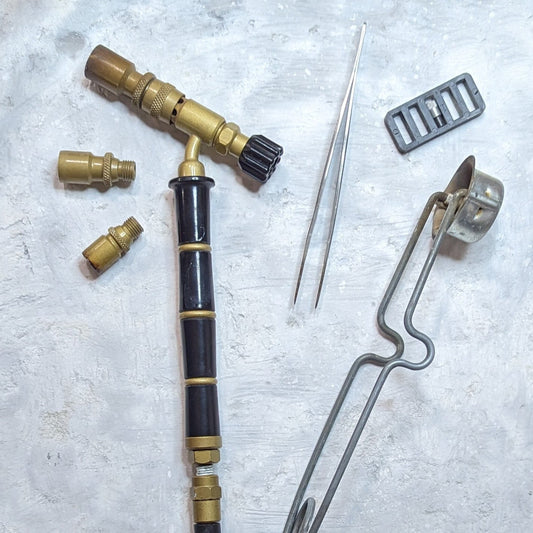
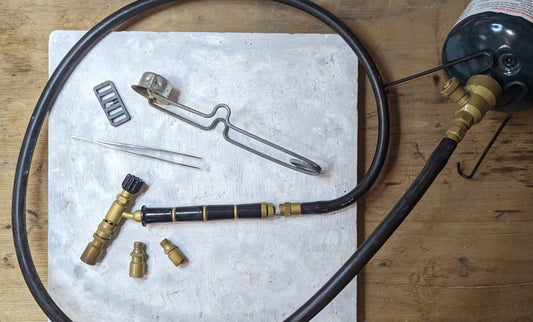
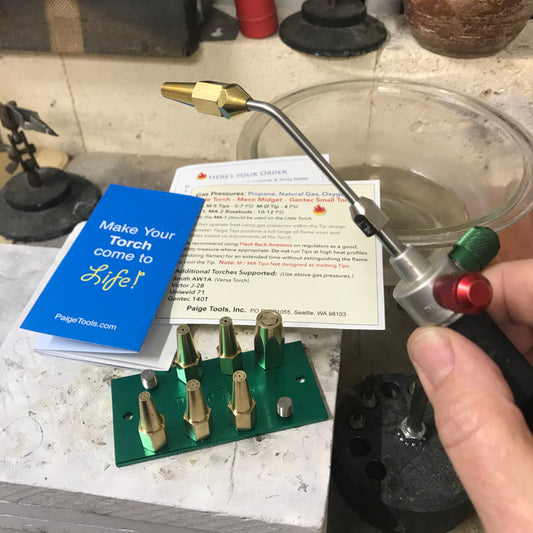
Know Your Torch: Orca/EZ Propane Torch with Julia Lowther, Sept. 28 - VIDEO
Regular price $52.00 USDRegular priceUnit price per -
Custom Stakes and Blanking Dies for Small-Scale Fabrication with Jeff de Boer, Sept. 6-27 - VIDEOS (4 sessions)
Regular price $348.00 USDRegular priceUnit price per -
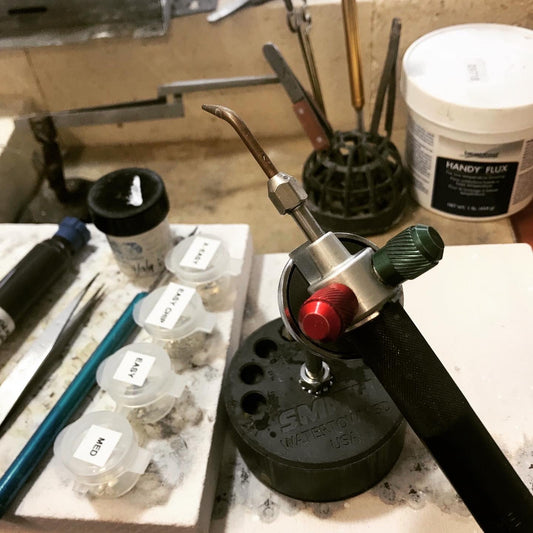
Know Your Torch Essentials: Smith Little Torch & Accessories with Jennifer Stenhouse, Sept 27 - VIDEO
Regular price $78.00 USDRegular priceUnit price per -
Jewelry Engraving Basics with Chris Anderson, Sept. 14 & 21 - VIDEOS
Regular price $270.00 USDRegular priceUnit price per