Collection: All Classes
This is a listing of all the current classes.
All our classes are live online and recorded, except for the Core Skills series. Our Open Studio Access sessions are live online but not recorded. Students will have access to the recording(s) of the live classes for 60 days after the class.
-
Open Studio Access (Monthly Subscriptions save 15%!)
Regular price $90.00 USDRegular priceUnit price / per -
Open Studio Access - Quarterly Subscription - Save 20%!
Regular price $216.00 USDRegular priceUnit price / per -
Open Studio Access - Annual Membership - Save 25%!
Regular price $810.00 USDRegular priceUnit price / per -
01/05 Sister Hooks & Swivel Closures
Regular price $78.00 USDRegular priceUnit price / per -
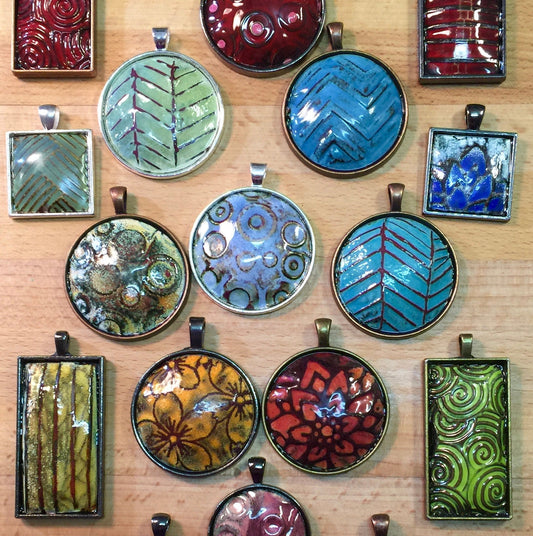
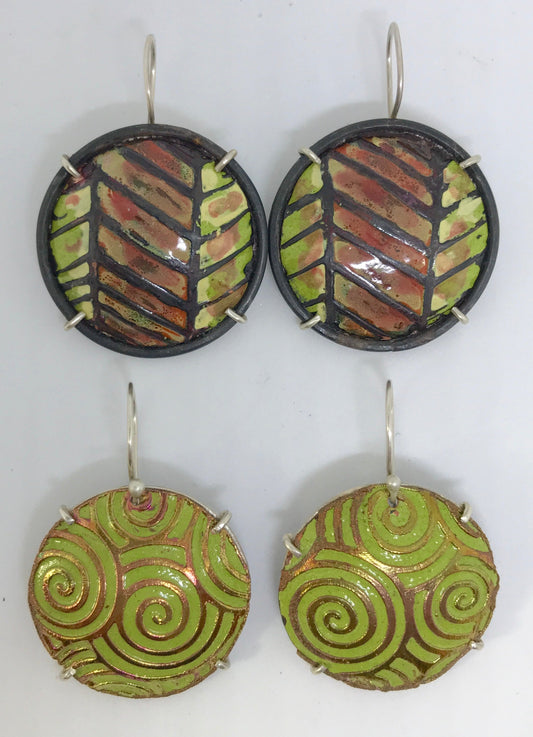
01/11-12 Enameling Using Embossing Folders with Leslie Perrino
Regular price $174.00 USDRegular priceUnit price / per -
02/03 - 03/10 Lost Wax Casting for the Small Studio (6 weeks)
Regular price $324.00 USDRegular priceUnit price / per -
03/25 - 04/29 Design Inspiration (6 weeks)
Regular price $324.00 USDRegular priceUnit price / per -
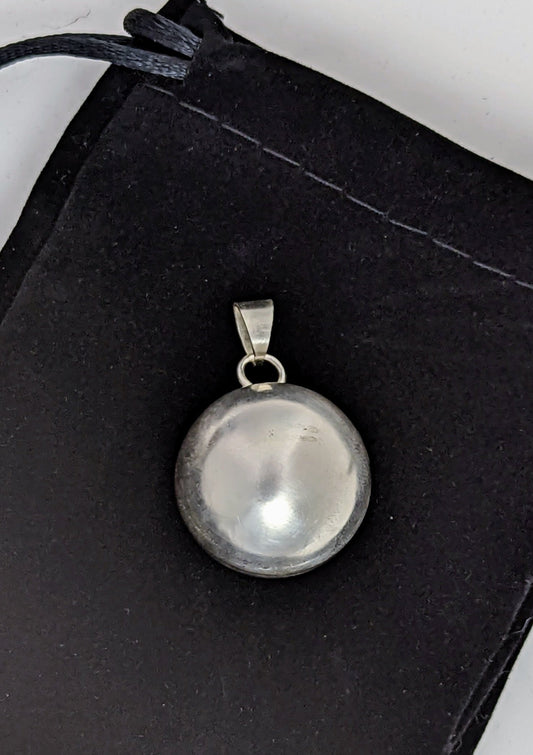
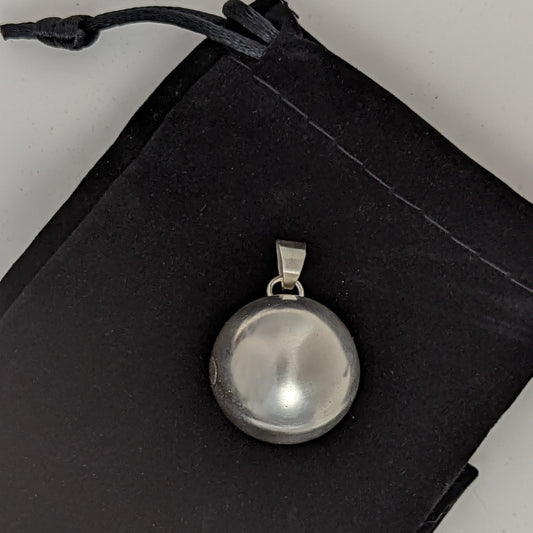
24/12/08 Chime Ball Charm - VIDEO ONLY
Regular price $78.00 USDRegular priceUnit price / per -
24/ 12/07 Casting Solutions for the Small Studio- VIDEO ONLY
Regular price $78.00 USDRegular priceUnit price / per -
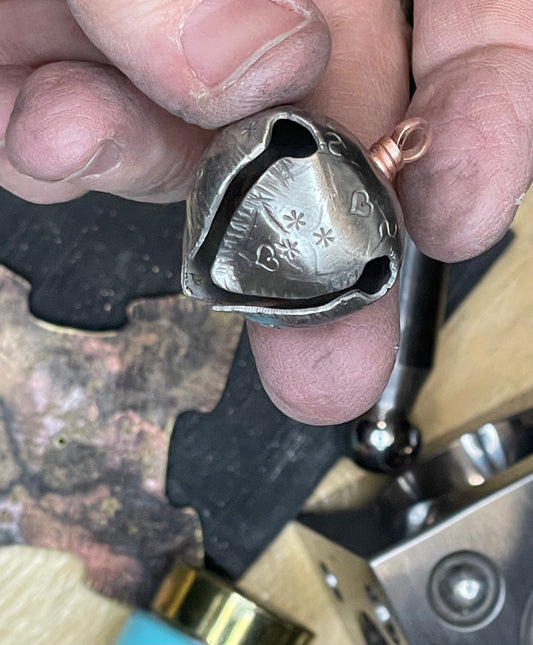
24/11/23 Hollow Forming: Jingle Bell - VIDEO ONLY
Regular price $52.00 USDRegular priceUnit price / per -
24/10/27 - 11/17 Pancake, Forming, & Embossing Dies, Hydraulic Press Tricks and More! with Jeff de Boer - VIDEO ONLY
Regular price $348.00 USDRegular priceUnit price / per -
24/11/16 Lathe Techniques for Wax Stone Settings - VIDEO ONLY
Regular price $52.00 USDRegular priceUnit price / per -
24/11/09 Wax Carving for Stone Setting - VIDEO ONLY
Regular price $104.00 USDRegular priceUnit price / per -
24/10/15 - 11/05 Wax Working for Jewelers (4 weeks) - VIDEO ONLY
Regular price $260.00 USDRegular priceUnit price / per -
24/11/02 Intro to Lathe Techniques for Wax Carving - VIDEO Only
Regular price $78.00 USDRegular priceUnit price / per -
Core Skills - 5 Class Bundle
Regular price $108.00 USDRegular priceUnit price / per -
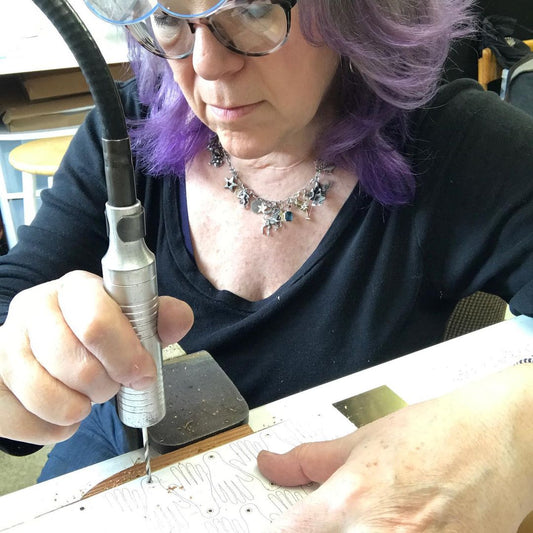
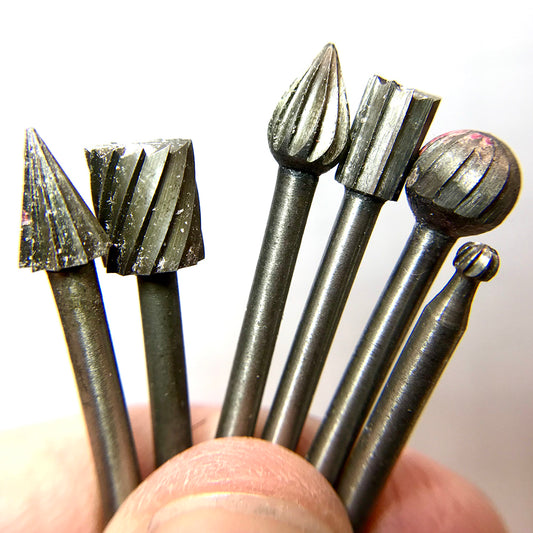
Core Skills - Basics of Drilling
Regular price $27.00 USDRegular priceUnit price / per -
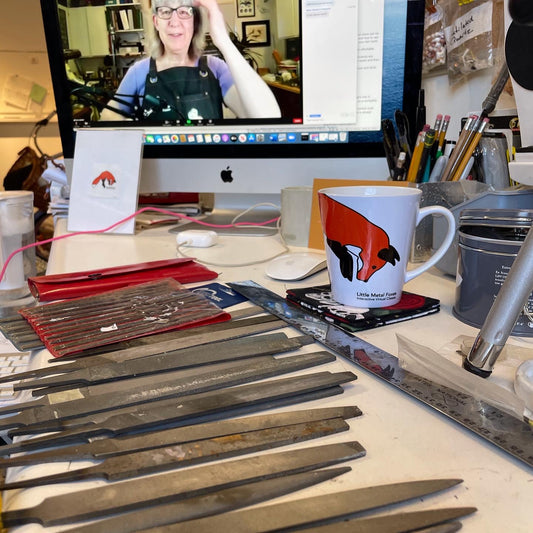
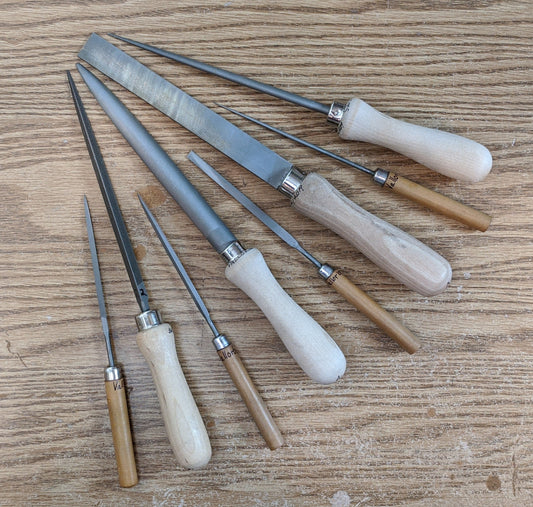
Core Skills - Basics of Filing
Regular price $27.00 USDRegular priceUnit price / per -
Core Skills - Basics of Sawing
Regular price $27.00 USDRegular priceUnit price / per -
Core Skills - Basics of Soldering
Regular price $27.00 USDRegular priceUnit price / per
Build your skills!
-
Jewelry Making
- Soldering Techniques
- Rivets & Cold Connections
- Working with Gold-filled
- Working with Alternative Materials
- Lockets & Boxes
- Granulation
- Reticulation
- Keum-bu & Gold Overlay
- Engraving
- Recycling Metals
- Pearl Knotting
- Enameling
- Electro Etching
- Chemical Etching
- Marriage of Metals
- Working with Patinas
-
Chain & Maille
- Byzantine Chain
- Silver Peacock Chain
- Helm Chain
- Square Maille
- Freehand Chain
- Turkish Chain
- Ribbon Chain
- Paperclip Chain
- Cuban Chain
- Viking Knit
- Cord Knit
- Soldering Chain
-
Stone Setting
- Alternative Stone Setting
- Bezel Setting
- Flush Setting
- Tube in Stone Setting
- Wire Basket Seeting
- Card Cut Setting
- Sheet & Wire (Turtle & Tab) Setting
- Flush Setting
- Wire Basket Setting
- Pedestal Setting
- Prong Setting
- Tube Setting
- Tapered Tube Setting
-
Wax & Casting
- Wax Work & Carving
- Mitsuro Hikime Wax
- Using a Lathe & Wax
- Stone Setting in Wax
- Lost Wax Casting
- Cuttlefish Bone Casting
- Gravity Casting
- Sand Casting
- Making Molds
- Injection Molds & Wax
-
Forming & Forging
- Chime Ball
- Hydraulic Press Forming
- Pancake Dies
- Hollow Forming
- Patterning Metal
- Rolling Mill Essentials
- Forming with Pliers & Hammers
- Making & Using Stamps
- Chasing & Repoussé
- Twisting Heavy Wire
-
Tools
- Know Your Torch
- Flexshaft Tips & Tricks
- Filing, Drilling, & Sawing
- Gravers
- Tap & Die


