Collection: All Classes
This is a listing of all the current classes.
All our classes are live online and recorded, except for the Core Skills series. Our Open Studio Access sessions are live online but not recorded. Students will have access to the recording(s) of the live classes for 60 days after the class.
-
Open Studio Access - Monthly Subscriptions - Save 15%!
Regular price $95.00 USDRegular priceUnit price / per -
Open Studio Access - Quarterly Subscription - Save 20%!
Regular price $228.00 USDRegular priceUnit price / per -
Open Studio Access - Annual Membership - Save 25%!
Regular price $855.00 USDRegular priceUnit price / per -
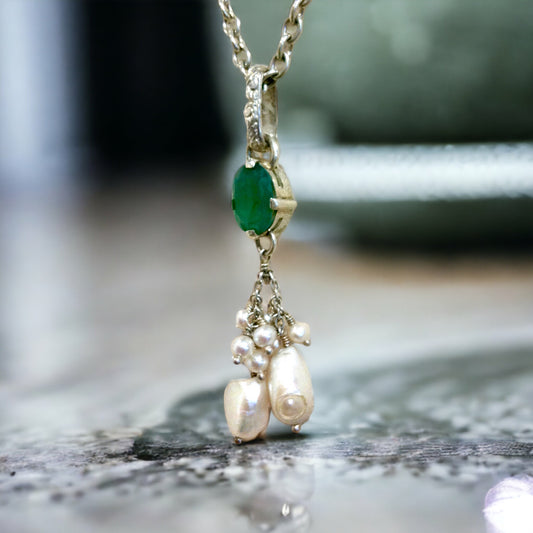
Alternative Stone Setting: Wire and Prongs with Jennifer Stenhouse, Nov 8
Regular price $78.00 USDRegular priceUnit price / per -
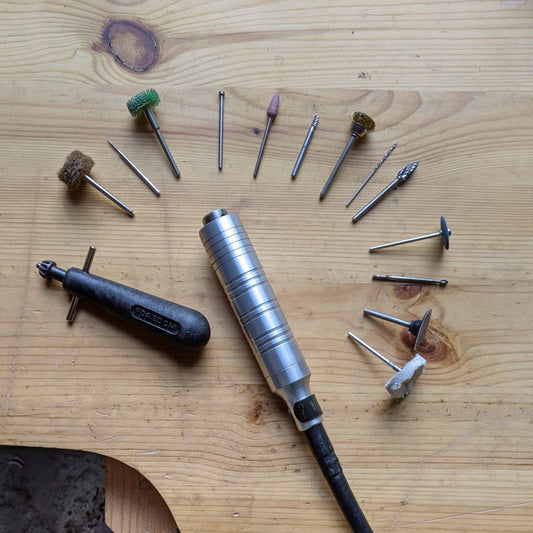
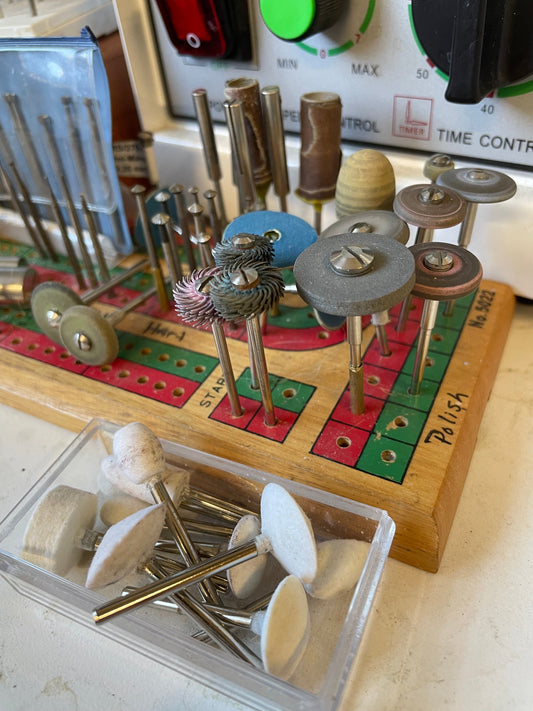
Flexshaft Demystified with Jennifer Stenhouse, Nov. 15
Regular price $78.00 USDRegular priceUnit price / per -
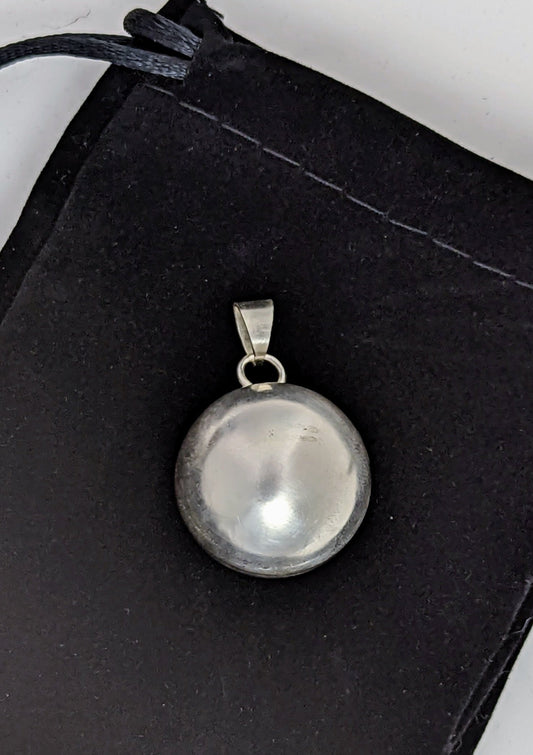
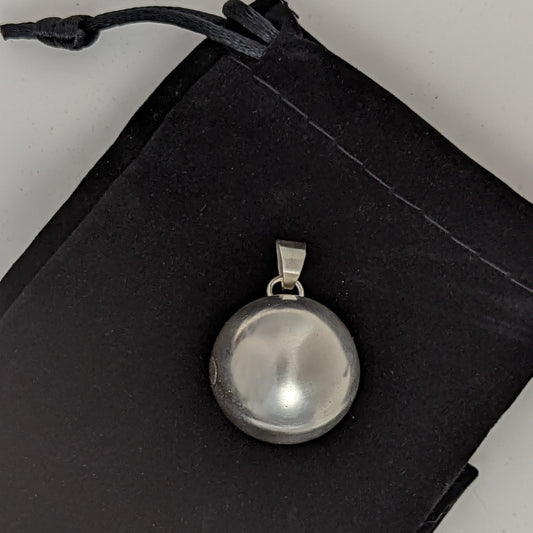
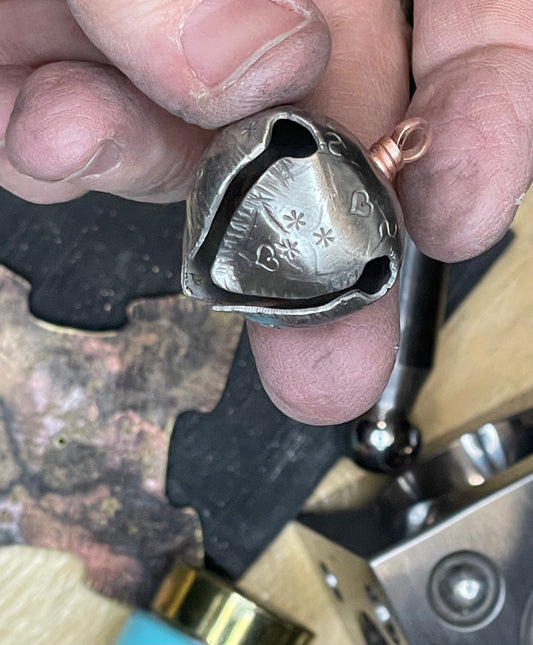
Chime Ball Charm with Julia Lowther, Nov. 15
Regular price $78.00 USDRegular priceUnit price / per -
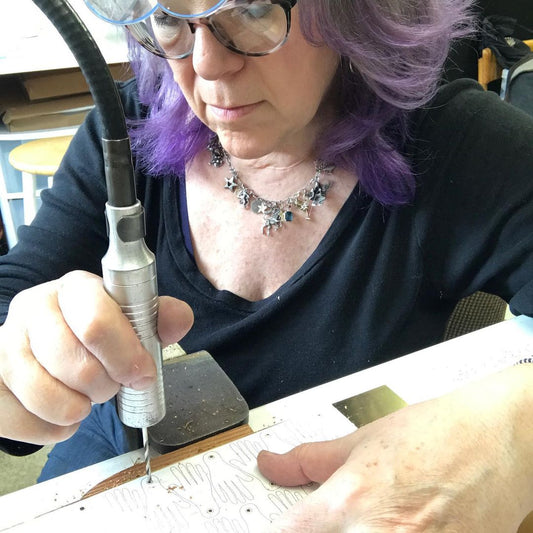
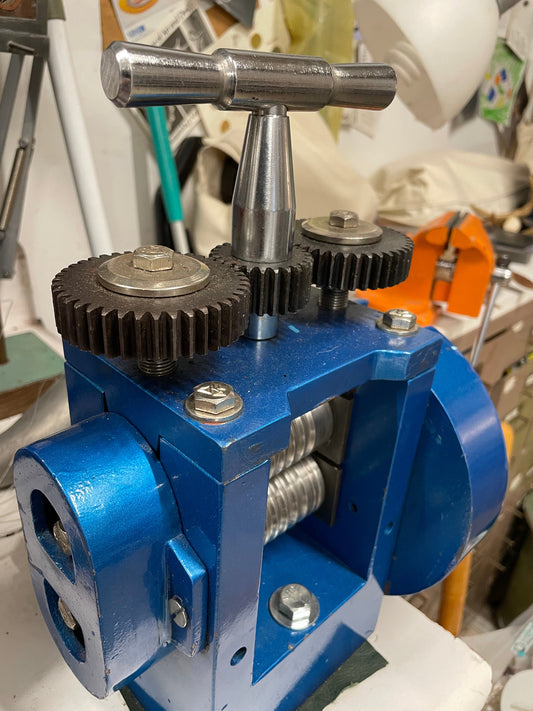
Rolling Mill Essentials and Textures with Jennifer Stenhouse, Nov. 22
Regular price $78.00 USDRegular priceUnit price / per -
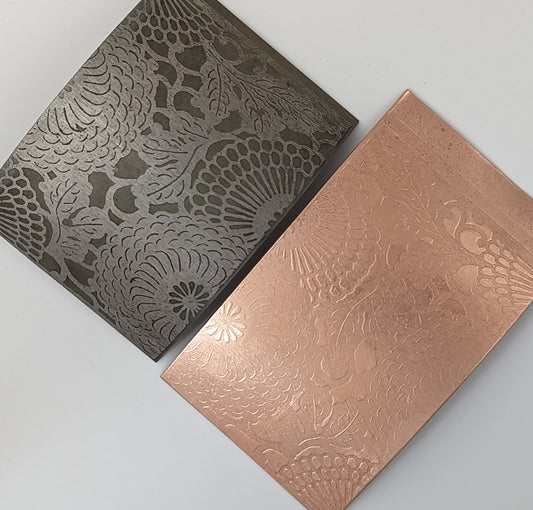
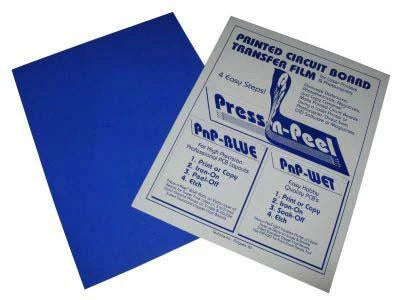
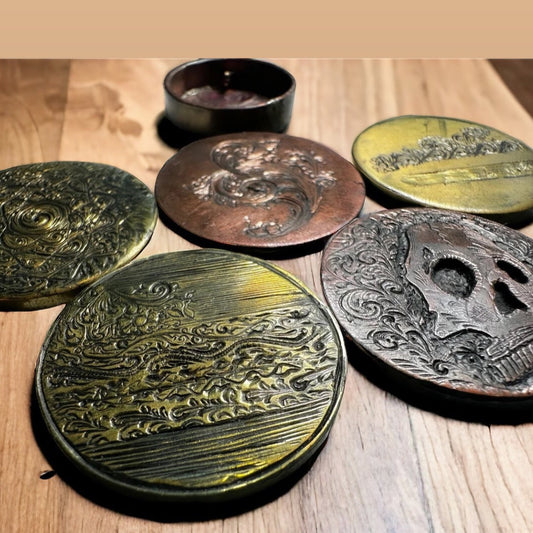
Etching Steel Texture Plates with Julia Lowther, Nov. 22
Regular price $78.00 USDRegular priceUnit price / per -
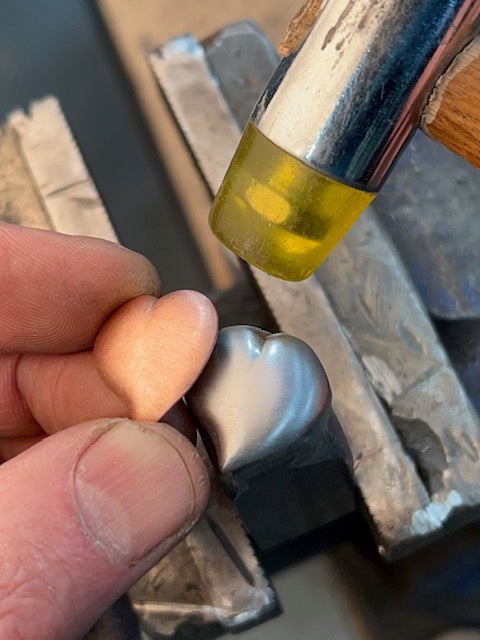
Hollow Forming: Jingle Bell with Jennifer Stenhouse, Dec. 6
Regular price $52.00 USDRegular priceUnit price / per -
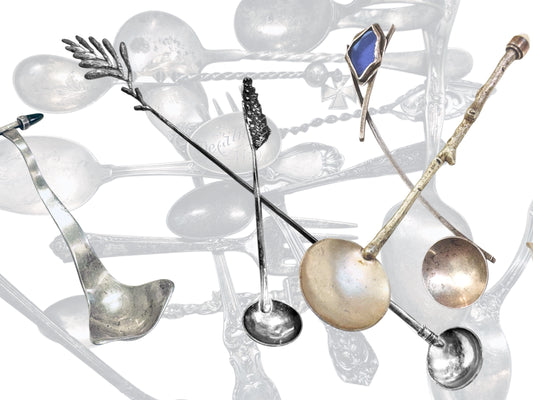
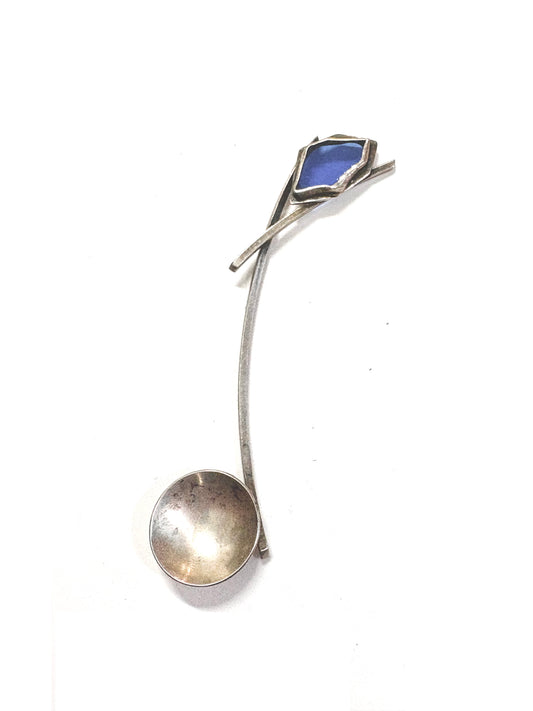
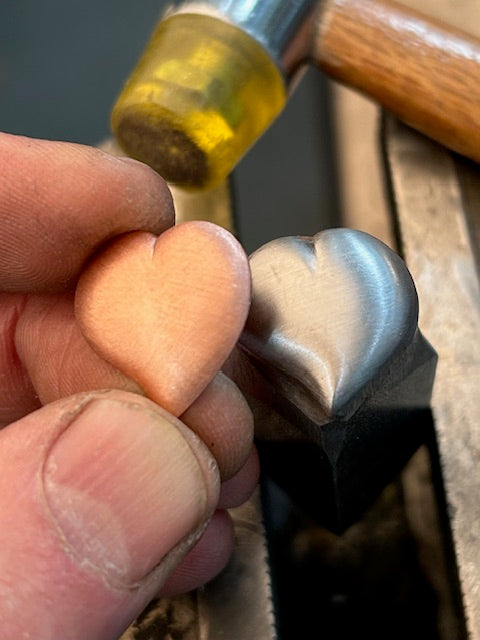
Holiday Silver Spoons: A One-Day Workshop with Jennifer Stenhouse, Dec. 13
Regular price $78.00 USDRegular priceUnit price / per -
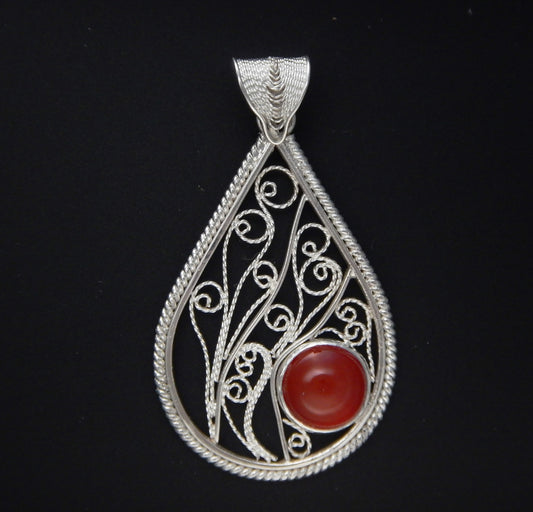
Fascinating World of Filigree with Milt Fischbein, Jan. 12, 14, & 19, 2026
Regular price $297.00 USDRegular priceUnit price / per -
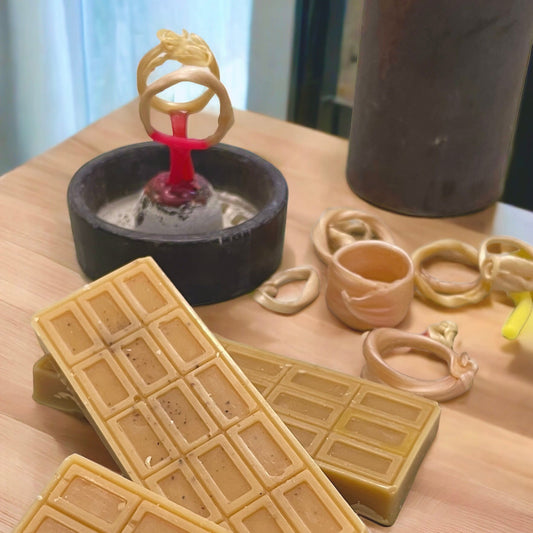
Working With Mitsuro Hikime Wax with Jennifer Stenhouse VIDEO
Regular price $78.00 USDRegular priceUnit price / per -
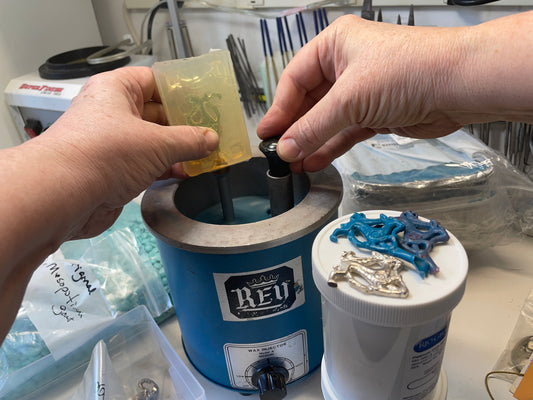
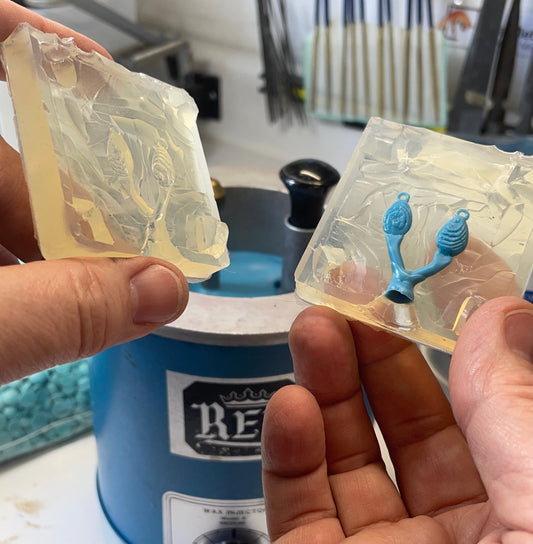
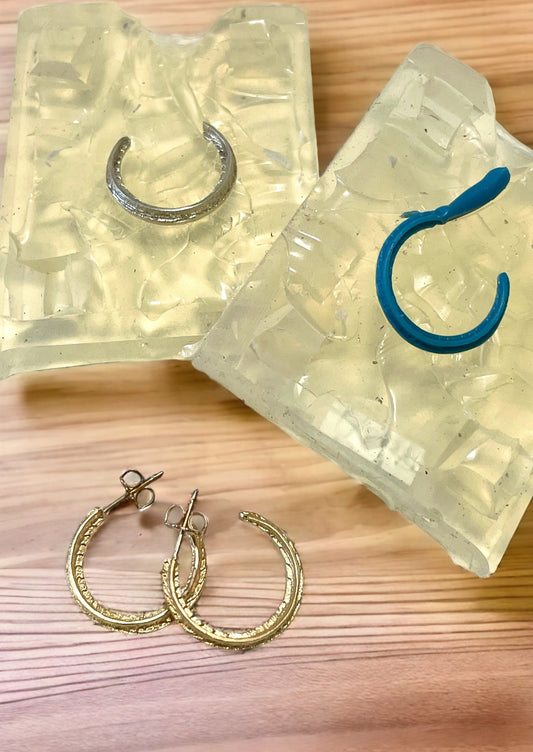
Wax Molds Part 2: Wax Injection and Alterations with Jennifer Stenhouse, Oct. 26, VIDEO
Regular price $78.00 USDRegular priceUnit price / per -
Wax Molds Part 1: Making the Mold with Jennifer Stenhouse, Oct. 25, VIDEO
Regular price $78.00 USDRegular priceUnit price / per -
Lost Wax Casting for the Small Studio with Jennifer Stenhouse, Sept. 8 - Oct. 13, VIDEO
Regular price $324.00 USDRegular priceUnit price / per -
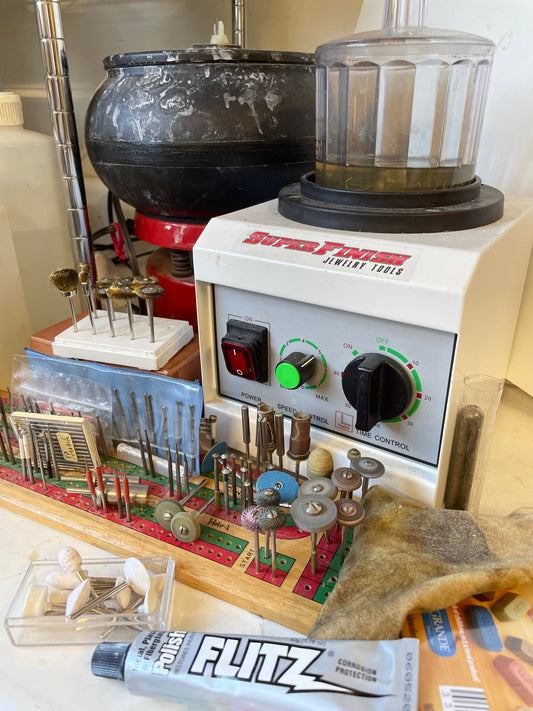
Finishing and Polishing Demystified with Jennifer Stenhouse, Oct.11, VIDEO
Regular price $78.00 USDRegular priceUnit price / per -
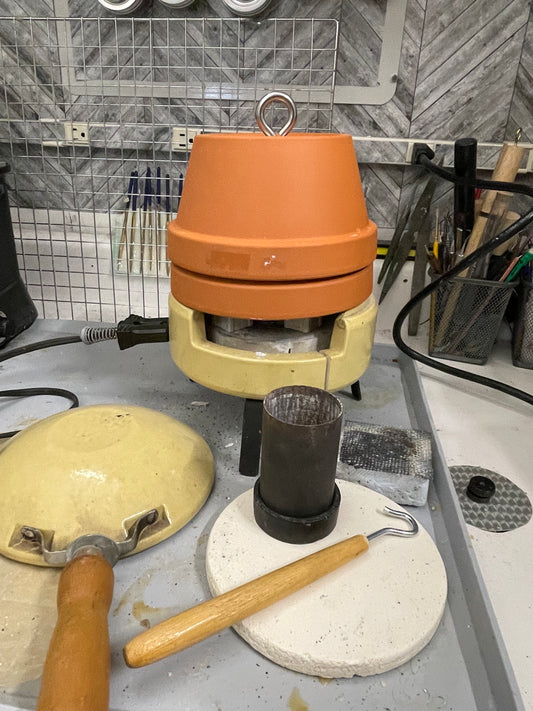
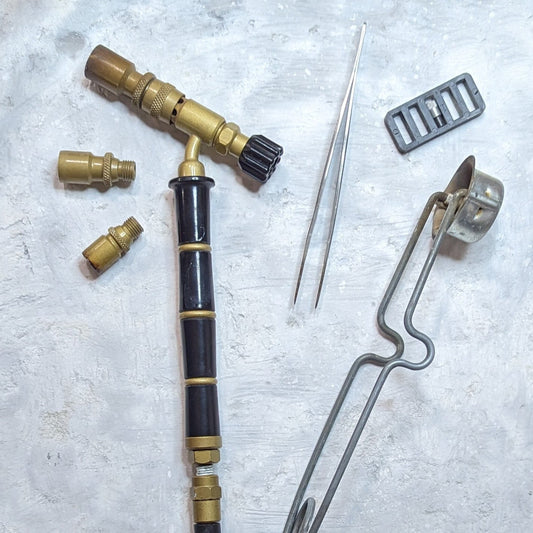
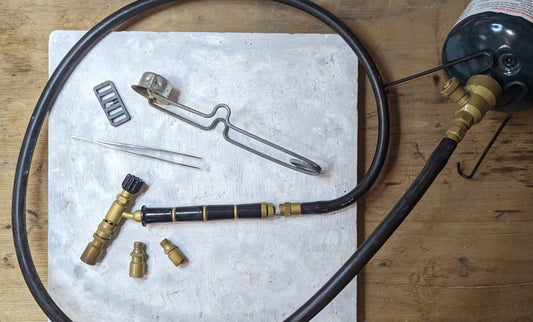
Know Your Torch: Orca/EZ Propane Torch with Julia Lowther, Sept. 28 - VIDEO
Regular price $52.00 USDRegular priceUnit price / per -
Custom Stakes and Blanking Dies for Small-Scale Fabrication with Jeff de Boer, Sept. 6-27 - VIDEOS (4 sessions)
Regular price $348.00 USDRegular priceUnit price / per -
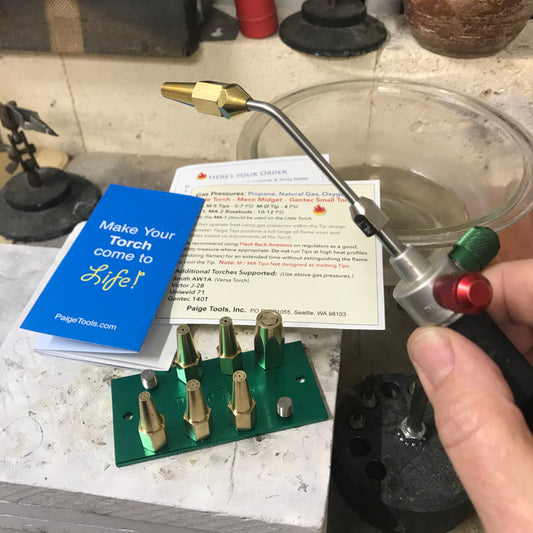
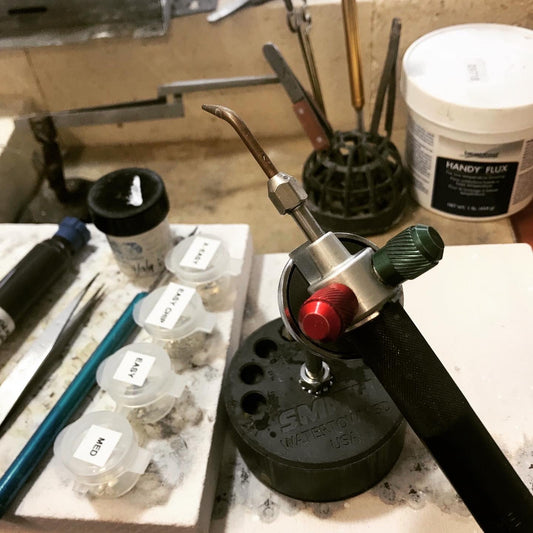
Know Your Torch Essentials: Smith Little Torch & Accessories with Jennifer Stenhouse, Sept 27 - VIDEO
Regular price $78.00 USDRegular priceUnit price / per -
Jewelry Engraving Basics with Chris Anderson, Sept. 14 & 21 - VIDEOS
Regular price $270.00 USDRegular priceUnit price / per
Build your skills!
-
Jewelry Making
- Soldering Techniques
- Rivets & Cold Connections
- Working with Gold-filled
- Working with Alternative Materials
- Lockets & Boxes
- Granulation
- Reticulation
- Keum-bu & Gold Overlay
- Engraving
- Recycling Metals
- Pearl Knotting
- Enameling
- Electro Etching
- Chemical Etching
- Marriage of Metals
- Working with Patinas
-
Chain & Maille
- Byzantine Chain
- Silver Peacock Chain
- Helm Chain
- Square Maille
- Freehand Chain
- Turkish Chain
- Ribbon Chain
- Paperclip Chain
- Cuban Chain
- Viking Knit
- Cord Knit
- Soldering Chain
-
Stone Setting
- Alternative Stone Setting
- Bezel Setting
- Flush Setting
- Tube in Stone Setting
- Wire Basket Seeting
- Card Cut Setting
- Sheet & Wire (Turtle & Tab) Setting
- Flush Setting
- Wire Basket Setting
- Pedestal Setting
- Prong Setting
- Tube Setting
- Tapered Tube Setting
-
Wax & Casting
- Wax Work & Carving
- Mitsuro Hikime Wax
- Using a Lathe & Wax
- Stone Setting in Wax
- Lost Wax Casting
- Cuttlefish Bone Casting
- Gravity Casting
- Sand Casting
- Making Molds
- Injection Molds & Wax
-
Forming & Forging
- Chime Ball
- Hydraulic Press Forming
- Pancake Dies
- Hollow Forming
- Patterning Metal
- Rolling Mill Essentials
- Forming with Pliers & Hammers
- Making & Using Stamps
- Chasing & Repoussé
- Twisting Heavy Wire
-
Tools
- Know Your Torch
- Flexshaft Tips & Tricks
- Filing, Drilling, & Sawing
- Gravers
- Tap & Die


